Week 4 – Testing and File Manipulation
Lecture Materials
- Monday Lecture Handout (Slides)
- Monday Lecture Handout (PDF)
- Monday EdStem Workspace
- Wednesday Lecture Handout (Slides)
- Wednesday EdStem Workspace
To Read/For Your Reference
Video Shorts
Lab Tasks
As usual, we publish these ahead of time, but they aren't guaranteed to be final until the start of lab on Monday.
This week in lab, you will download Github Desktop, find symptoms of bugs by writing tests, and then narrow down the actual bug.
Getting Set Up
Downloading Java JDK
If you don't have Java already installed, go ahead and download the latest Java JDK version from this Oracle link. Download the version that has "Installer" in the file name for your specific device (Linux, macOS, Windows).
Cloning with Github Desktop
There are many ways to download the code from your repository and upload changes. We will use Github Desktop to do this today, and see other options in the future. Even if you have some other preferred way to do this that you've used before, please do follow the tutorial! You may learn something new and useful.
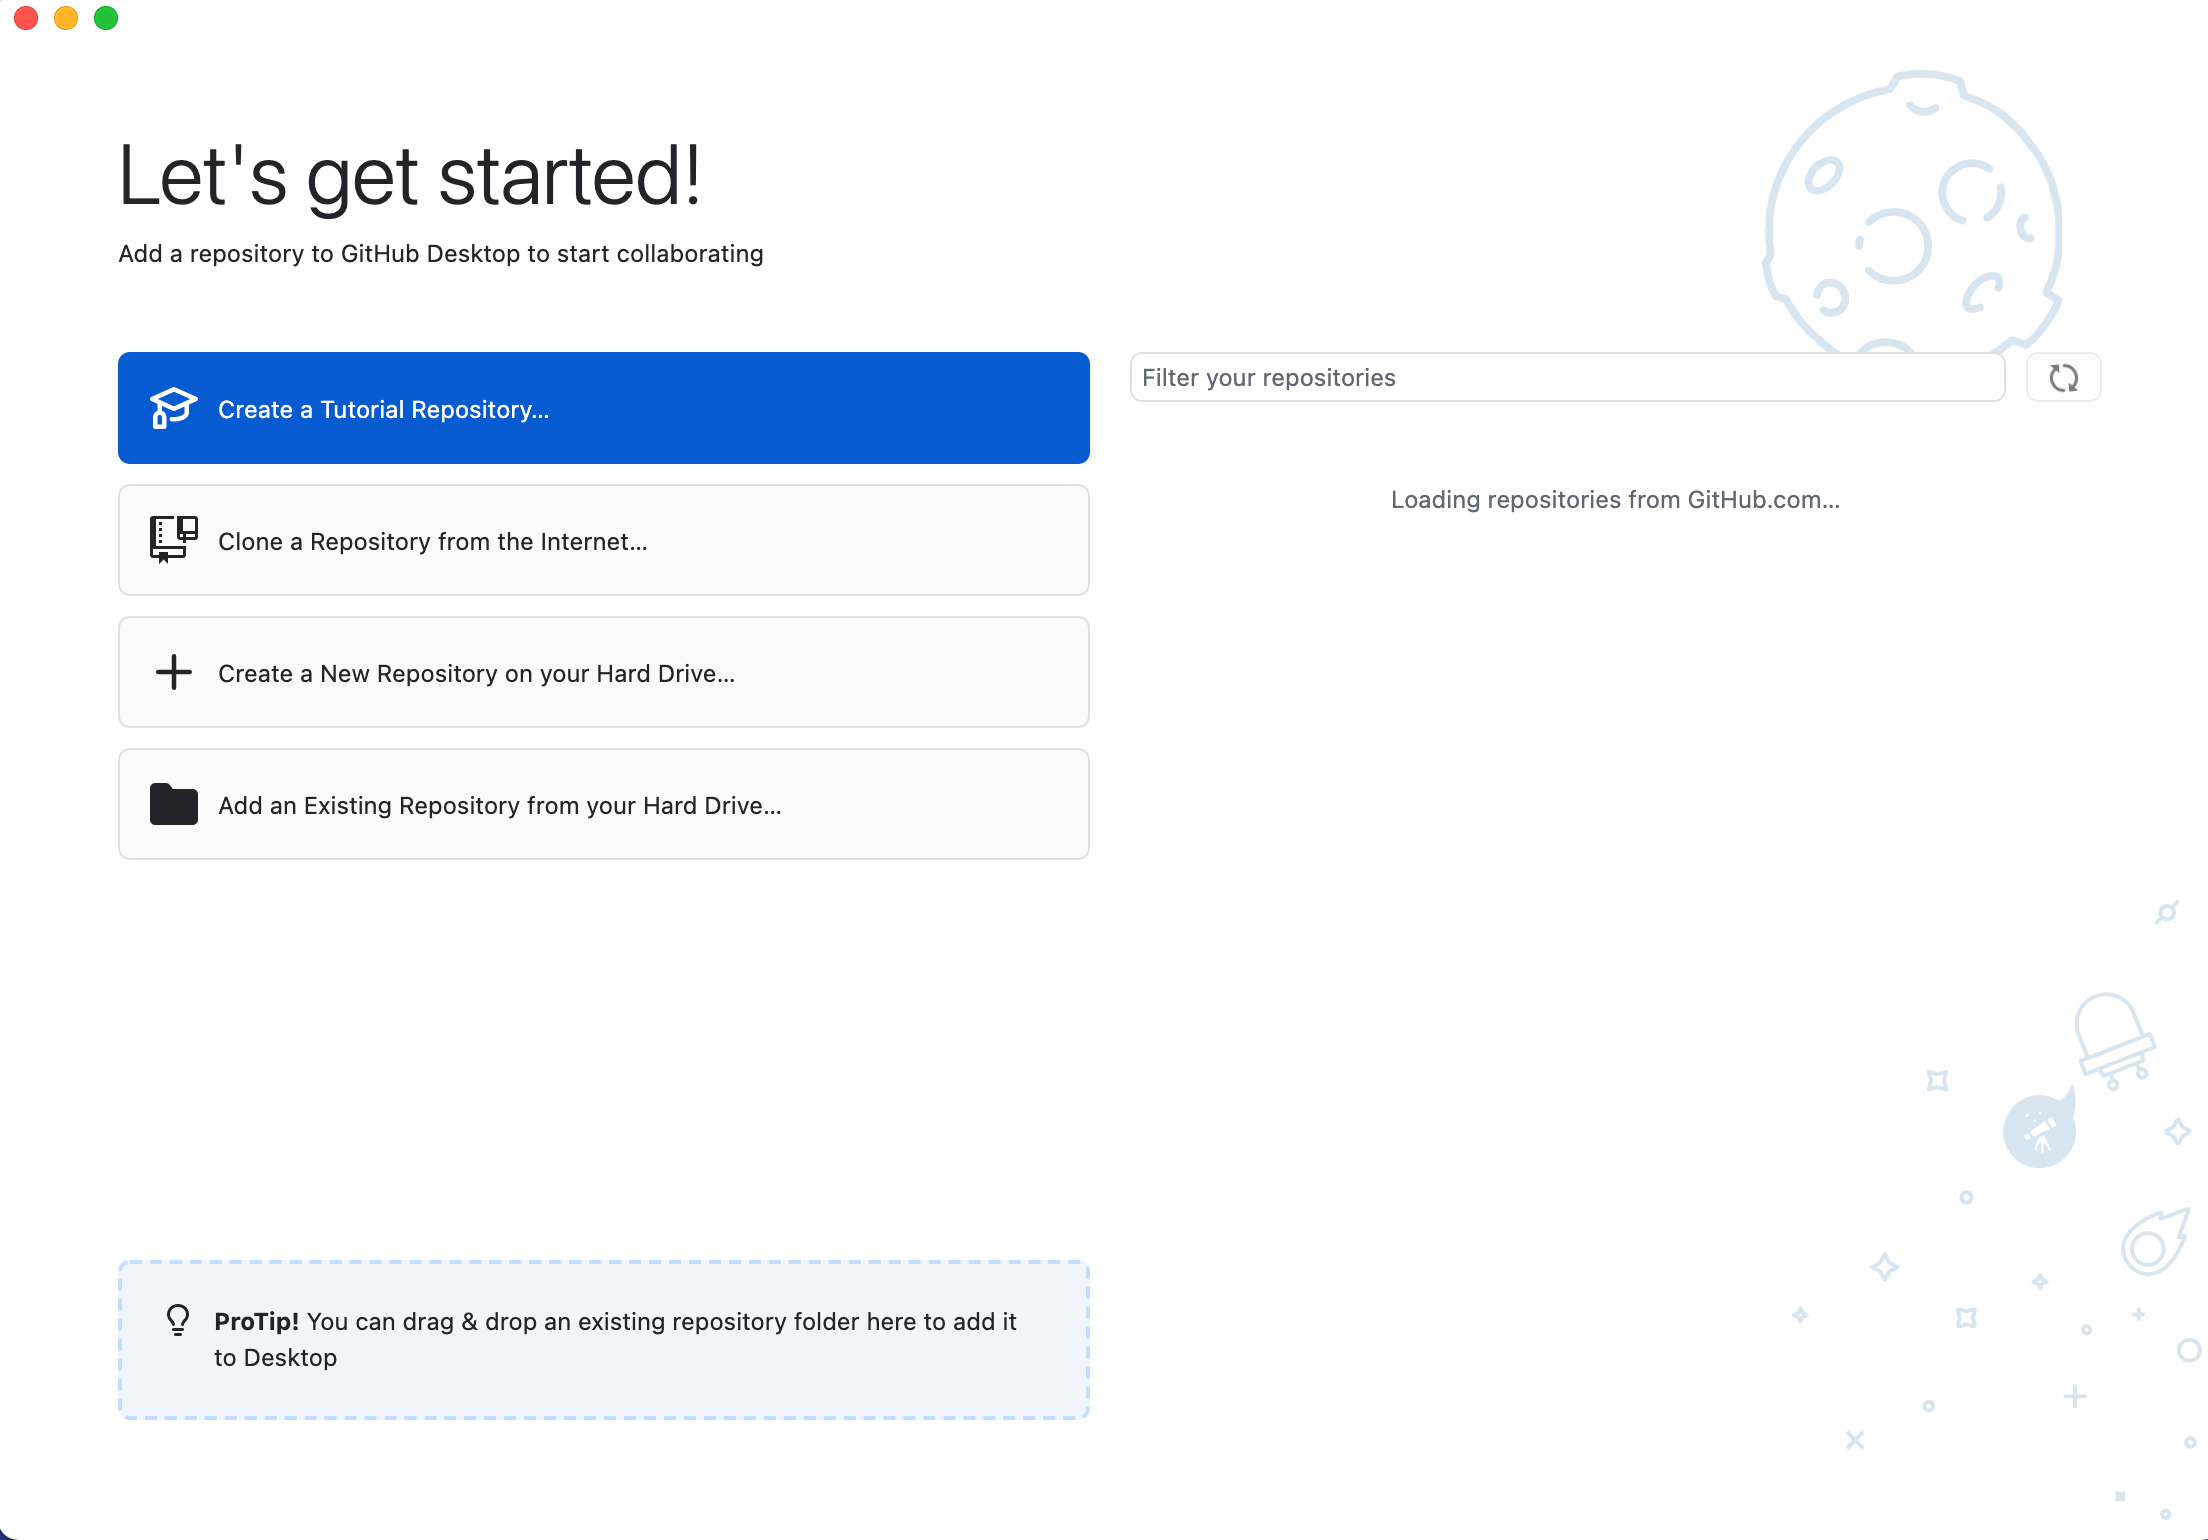
Download the Desktop Client for Github. Install it, and log in with your Github account. The startup page should look something like this:
Then, you can get the code from your repository in one of several ways:
- On the Github repository page, there is a
<> Codebutton; you can click on that and choose “Open with Github Desktop” - From Github Desktop, you can choose “Clone a Repository from the Internet” and then choose your repository
To test it out, try cloning your lab reports repository. You'll see a message about cloning, and then see this page:
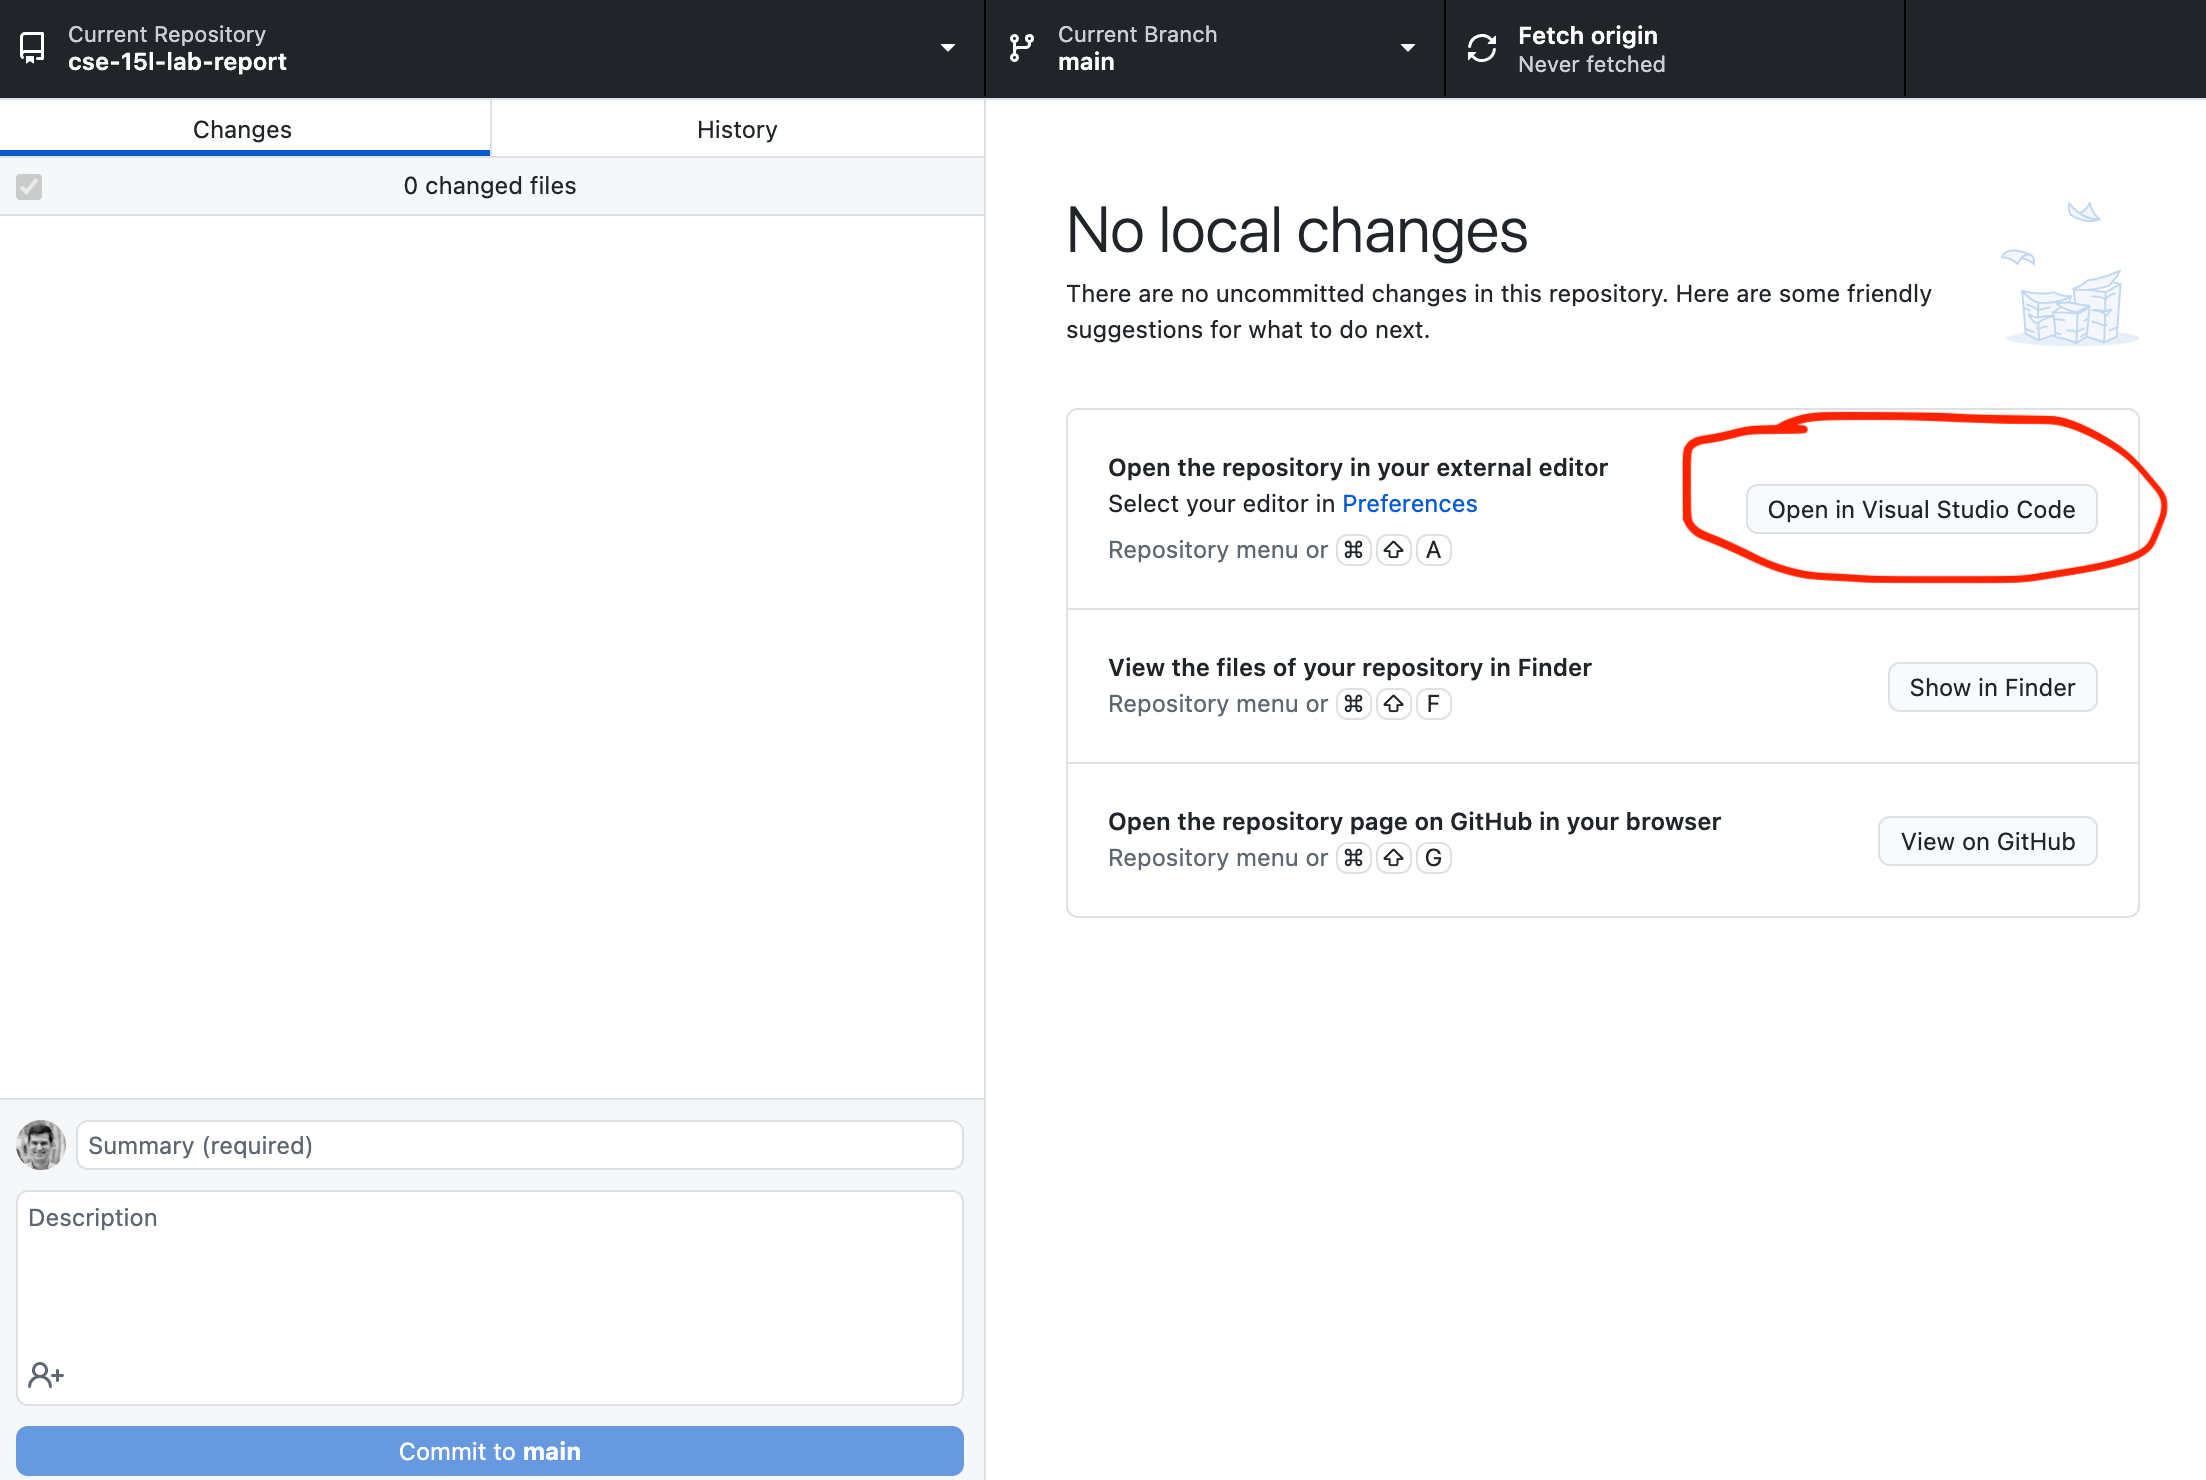
In this screenshot, you'll see the red circled part where it says Open in Visual Studio Code, which is where you can open your code in VS Code to edit your files directly! One thing that I often find a little surprising about this page is that it
doesn't list any files – index.md is nowhere to be found here! This is because
Github Desktop (and the underlying tool, git) are all about tracking and
recording changes; we won't see much in this interface until we make some
edits or create some new files.
Today in lab, you'll clone another repository and work with it a bit, so you'll see how this works.
Forking a Repo
Make a fork of this repository (it's OK if it's public):
https://github.com/ucsd-cse15l-f23/lab3
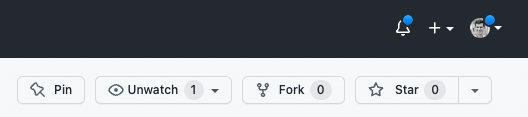
The fork button is on the upper right:
This makes a copy of the repository on in your Github account. Then, clone the repository that you forked (not the original!) using Github Desktop, and open it in Visual Studio Code.
Write down in notes - Find the exact location of the cloned repository in your computer's file system and write down the entire pathname. It is worthwhile to keep track of where cloned repos are located and to organize your computer.
There are a few relevant files for us:
ArrayExamples.javaArrayTests.javaListExamples.javaLinkedListExample.javaFileExample.java
The files that end in Example or Examples have code in them with bugs for
you to find – in ListExamples and ArrayExamples, all the methods have bugs.
- In
LinkedListExampleat least one of the methods onLinkedListhas a bug. - In
FileExample,getFileshas a bug.
So many 🐛s!
The file ArrayTests.java has some tests for the methods in
ArrayExamples.java. It uses a library called
JUnit to run tests using methods called
assertEquals and assertArrayEquals and other assert... methods.
(Note: JUnit is already included in the repository so no need to install anything)
When we run this class with JUnit, it runs each method that has a @Test annotation on
it, and reports the success or failure of the assert calls.
Since JUnit is an external library, it requires some extra work to compile and run. These two commands work well, and you should see output like the below when you run them:
MAC USERS:
local $ javac -cp .:lib/hamcrest-core-1.3.jar:lib/junit-4.13.2.jar *.java
local $ java -cp .:lib/hamcrest-core-1.3.jar:lib/junit-4.13.2.jar org.junit.runner.JUnitCore ArrayTests
JUnit version 4.13.2
..
Time: 0.006

OK (2 tests)
WINDOWS USERS:
local $ javac -cp ".;lib/hamcrest-core-1.3.jar;lib/junit-4.13.2.jar" *.java
local $ java -cp ".;lib/junit-4.13.2.jar;lib/hamcrest-core-1.3.jar" org.junit.runner.JUnitCore ArrayTests
..
Time: 0.006

OK (2 tests)
- The
*in the first command tellsjavacto compile all the.javafiles in this directory. It's a shorthand for writing them all out, so it's a useful notation to start using now whenever we have several Java files to compile. - The
-cpcommand-line argument stands for "classpath". Java uses this command-line argument to know where to look for classes. It takes paths separated by:/;(dependent on your operating system), so the first place it will look is., the current directory. After that, it will look for classes in the two.jarfiles in thelibdirectory. A.jarfile is like a.zipfile of a bunch of classes, and Java knows how to work with them. - While you might think the
..in the output belowJUnithas something to do with a path, it's actually printing a.for each test that runs. So if you run hundreds of tests, you can kinda watch the progress by seeing how the dots count up.
Task with your group: Try running the command of the operating system that isn't yours. (For example, a MAC user trying the Windows command and vise-versa) Observe the output and discuss with your partner/group what happens and why?
Symptoms and Failure-inducing Inputs
Array Methods
The two tests we wrote for you in ArrayTests.java pass, but the two implementations of reverse methods in ArrayExamples.java have bugs! Write more tests in ArrayTests.java to demonstrate that the two methods, reverseInPlace and reversed, have bugs, and identify the bugs.
Write down in notes - For each, what was the failure-inducing input (the test)? What was the symptom (the output when the test failed)? What was the bug (the problem in the code)? Be as specific as possible when adding the following down to your notes:
- The code for your tests (copy it into the doc)
- The output corresponding to each symptom
- The code change you need to make to fix the bug
Checkpoint – After fixing the reverse methods, we want to save these changes to our Github repo. It's really useful to checkpoint your work this way; you will be able to see in the commit history every time you make a change and commit.
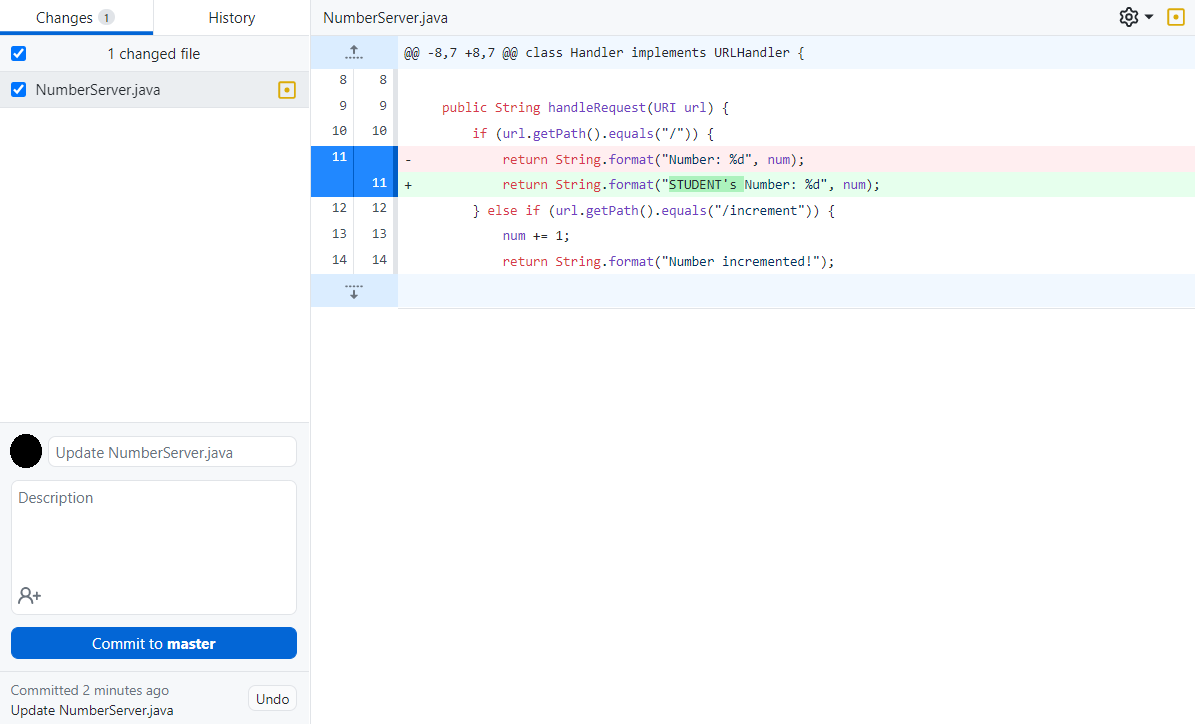
In order for these changes to appear on GitHub, we need to commit and push them. Open your GitHub Desktop window, and it should show that you have made a change in the lab3 respository as seen in the image below (which shows the wavelet repo but it should look similar). Click the button shown at the bottom left that says Commit to main.
Next, for the changes to actually appear on GitHub, you need to push them. GitHub Desktop should now display a new screen. Click the Push origin button displayed in the screenshot below.
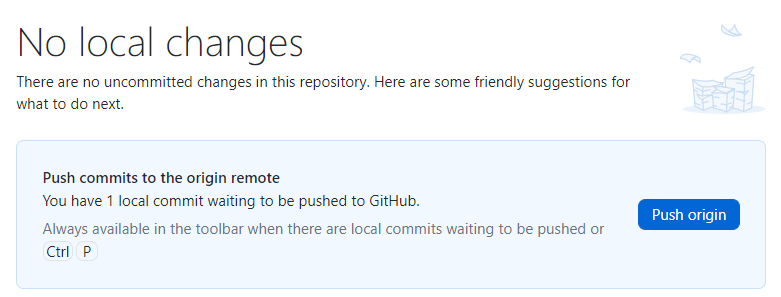
Now your changes to this repository should be visible in GitHub!
You can see more documentation about git and pushing your changes here:
Next, for averageWithoutLowest, you will do a similar process as above, making sure to note symptoms, failure-inducing inputs, and bugs. But, this time, your lab partner will brainstorm one of the tests for you to write, describe it to you at a high level, and then you will implement it. Complete these steps as described below.
- Write down in notes - Come up with a high level description of a test that your lab partner should implement (without using any code!). Also include: Which symptom/bug is this testing for? Why is this test useful?
- Implement and run the test devised by your lab partner
If you're having trouble thinking of tests, try starting from the smallest possible inputs (an empty array), and then trying increasing sizes of arrays to structure your thinking.
List Methods
There are two methods in ListExamples, each of which has a bug. For this
program, create a new file called ListTests.java with JUnit tests. In ListTests.java, write some tests to identify and demonstrate the bugs in ListExamples. You should carefully design your tests to get failing inputs, symptoms,
and eventually identify the bugs. Keep in mind that most of the time we can find
relatively small inputs that trigger the symptom!
Hint – if you're not sure about Java interfaces, there is review material, and an online textbook with examples (free, you have to make an account).
Write down in notes – Symptoms, inputs, and bugs.
Checkpoint – Commit and push your changes, and don't forget to add the new file! This
is one of the most common mistakes I make with git that is annoying for my
collaborators: I add a new file locally and forget to put it on Github for them
to see!
Linked List Methods
The file LinkedListExample.java has an implementation of a linked list that
is, in fact, buggy. We won't tell you which method(s) have the bugs. Create a
file called LinkedListTests.java and write tests in that file.
Note that for this case, your failure-inducing input requires a little more work to construct: you have to build lists and try out the methods. All of that work is part of the “failure-inducing input”, and it's useful to have it all written down in code so that we don't have to remember it or re-type it each time we want to run the test.
Write down in notes – Symptoms, inputs, and bugs.
Checkpoint – Commit and push your changes, and don't forget to add the new file! This
is one of the most common mistakes I make with git that is annoying for my
collaborators: I add a new file locally and forget to put it on Github for them
to see! This is repeated from last week.
Reflect, write down in notes – You've now had to create two new test files
(one for ListExamples and one for LinkedListExample). What actions did you take in
your editor to do this? How long did it take you? Could you or did you use
copy/paste effectively to avoid lots of typing? Could you or did you use the up
arrow in the terminal to “get back” earlier commands rather than typing them out
again? Any other tricks you could use to make this more painless in the future?
Discuss with your group! The long-term goal here is to learn tips and tricks to take tasks that might be annoying 5-minute tasks and turn them into 30-second tasks. It really changes how you think about writing tests if the process of getting started takes less time!
File Methods
The file FileExample.java has an implementation of a method that works with
the filesystem and, fortunately for our learning, it's buggy.
This one is interesting because the definition of a "failure-inducing input" is
trickier – this program won't run without us having some files and paths
available to try! There is a comment in FileExample.java showing an example file structure for this program. So the first thing you may want to do is create the file structure depicted in the comment in your repository! Then you can
write tests that use FileExample.java. You can create this just using VScode's "new
file" and "new folder" buttons/options.
To help you read and understand the program check out the File documentation here:
https://docs.oracle.com/javase/8/docs/api/java/io/File.html
Write down in notes – Symptoms, inputs, and bugs. Remember that your input is not just the code, but also the test files you created.
Checkpoint – Commit and push your changes, and don't forget to add the new files, including the files you created as test input! All these files need to be a part of the repository so that we can run the tests. (This is a particularly annoying one to realize you missed later – the test will fail because the input data doesn't exist!)
Discuss – Out of all the bugs above, which was the most interesting bug you found? Have you ever made bugs like these yourself in your own programs? What about having JUnit tests written might be useful one or two weeks from now?
Bugs and Troubleshooting
Let's test your knowledge of bugs and how to troubleshoot them!
You and your partner should design a bug that you think is not trivial to catch. Make sure you agree on what a failure-inducing input for it is. This could be a new method you make up, or an edit to one of the existing methods in the lab already.
Write down in notes - Then, with another pair who has also done this, swap the buggy programs you designed (you can copy-paste them into the notes doc to share). See if you can spot one another's bugs, and catch them with a well-designed input. Were these easy or hard to catch?
Once both groups have found the issues, try again! Try to stump one another with plausible, but tough-to-find, bugs.
Share your favorites with your team and tutor. We'll share a few of the best ones in class.